
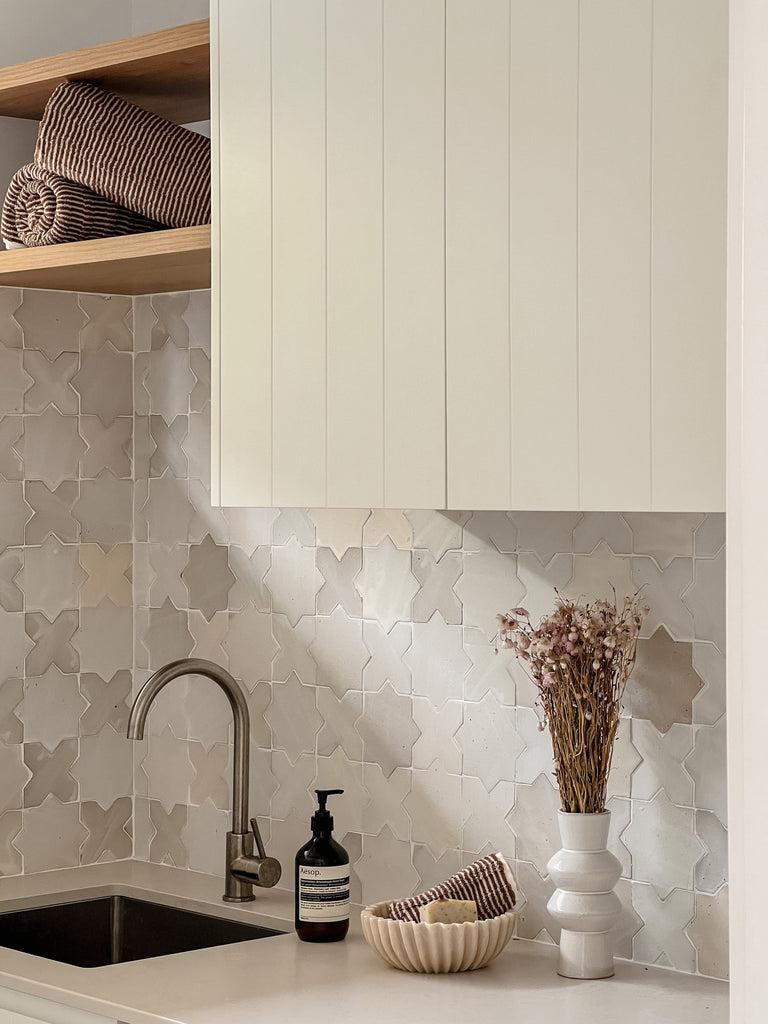
Tile Installation Insights: A Homeowner's Guide to Getting it Right
Tiles offer a world of possibilities, transforming spaces with their beauty and versatility. With attention to detail, proper preparation and an understanding of the material, your journey from concept to completion for your tile installation can be a total breeze. Whether you are a seasoned DIY enthusiast, a reno rookie or prefer to let the pros handle the installation, this guide provides valuable insights and practical tips to help you navigate the process, ensuring a flawless finish and a space that reflects your vision.
The Great Debate: Professional Installation vs. DIY
We get it. There's an undeniable appeal to rolling up your sleeves and getting hands-on with your home renovation. But when it comes to tiles, there's more than meets the eye.
Professional Installation: Think of it as an investment. Professionals come equipped with the right tools, expertise and experience. They ensure that tiles are laid evenly, grout lines are consistent and the finished look is polished. Plus, with professionals, you can avoid the common pitfalls of tiling, ensuring longevity and durability.
DIY: While it might seem cost-effective initially, DIY tiling comes with its challenges. There's a learning curve involved, and without the right tools or knowledge, mistakes can happen. These errors might lead to uneven tiles, inconsistent grout lines or even tiles that come loose over time.
Our verdict? If you're confident in your skills and have done your research, go for it! But if you're unsure, it might be best to leave it to the pros. After all, tiles are an investment in your home's beauty and functionality.
Check out our guide on Choosing the Right Tiler for more information on what you should look out for in a tiler.
Preparing Your Space for Tiling: The Homeowner's Checklist
Before those gorgeous tiles touch your floors or walls, there's some prep work to be done:
1. Clean the Surface:
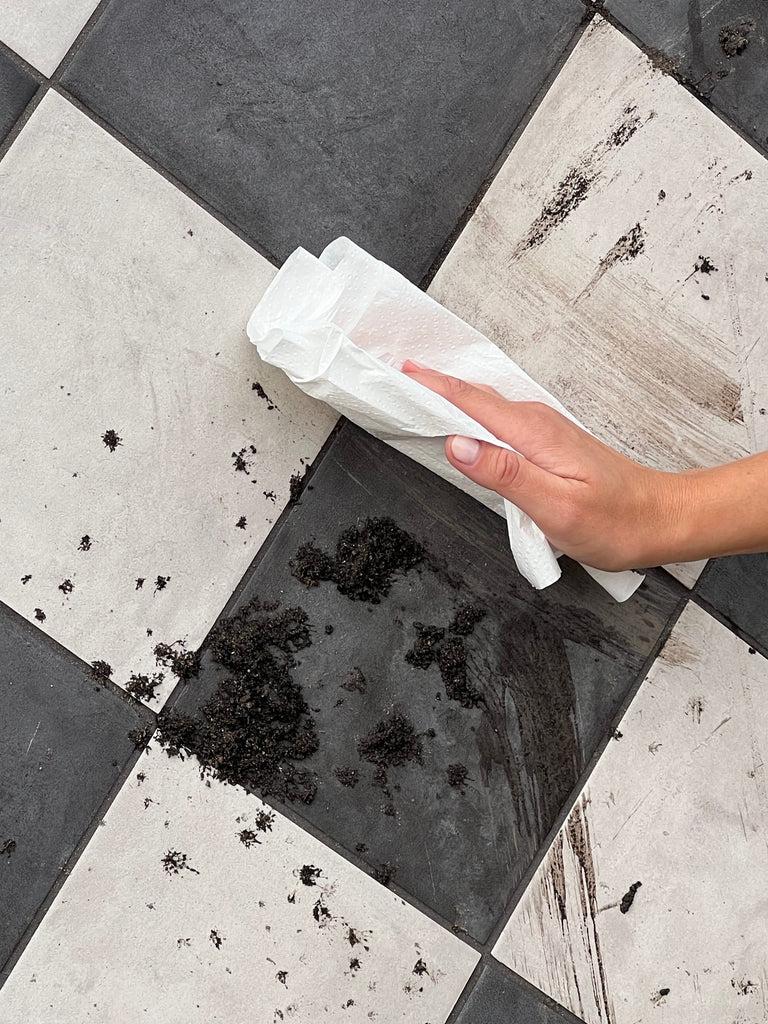
Before you even think about laying down tiles, the surface needs to be pristine. Any residue, be it dust, grease or old adhesive, can interfere with the bond between the tile and the substrate. Cleaning ensures that the adhesive or mortar has the best possible surface to adhere to. Depending on the previous surface, you might need a combination of sweeping, scrubbing and even a degreasing agent to ensure it's spotless.
2. Check for Damage:
Tiles need a solid foundation. If the surface has cracks, holes or any other form of damage, it can compromise the integrity of the tile installation. For instance, a crack in the concrete floor might expand over time, causing the tile above it to crack as well. It's essential to repair any damage, filling cracks or holes with a suitable filler or patching compound. If the damage is extensive, consider laying a backer board to provide a stable base for your tiles.
3. Level it Out:
A flat surface is crucial for a successful tile installation. Any dips or bumps can lead to uneven tiles, which are not only visually unappealing but also a tripping hazard. If the floor isn't level, you'll need to use a levelling compound. This self-levelling solution is poured onto the floor, and it naturally finds its level, providing a flat surface for the tiles. For walls, ensure they are straight using a long level or straightedge.
4. Plan Your Layout:
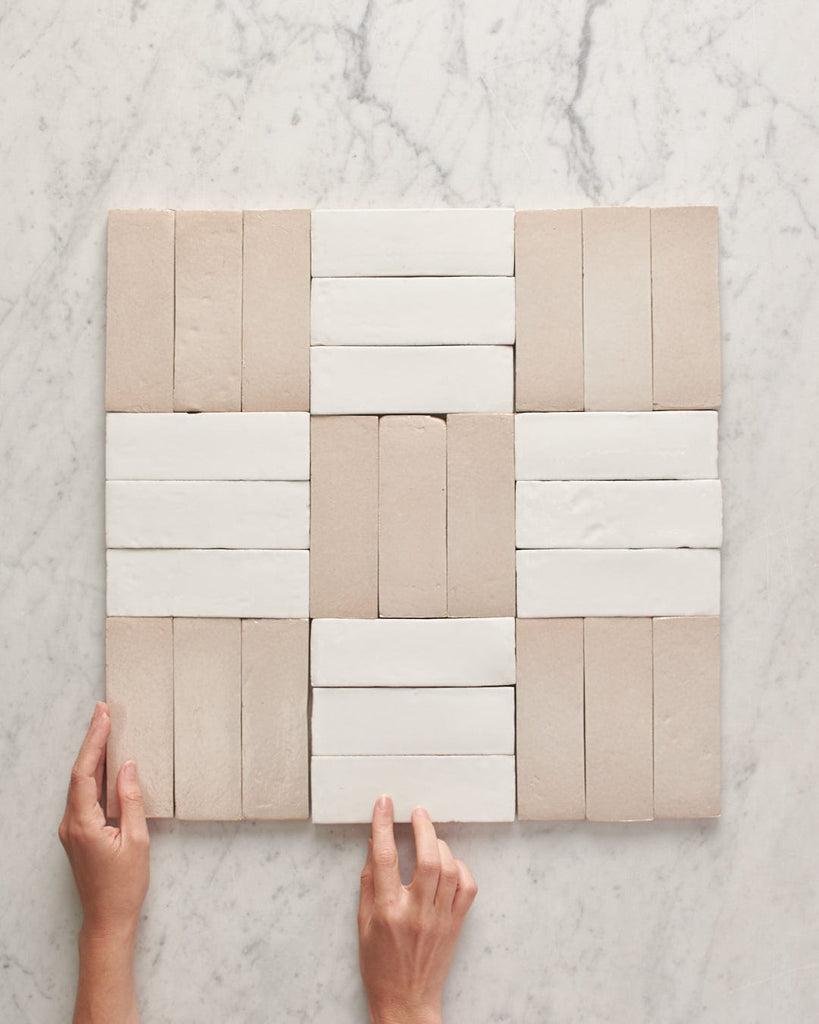
This step is all about visualisation. Before committing to adhesive, lay out your tiles to see how they fit. Starting from the centre ensures that cut tiles, which are inevitable, end up at the edges of the room and not in the centre, giving a more symmetrical and clean appearance. Use tile spacers to mimic the grout lines and get an accurate idea of the layout. This dry run can help you decide on the orientation, pattern and even if you need to adjust the starting point.
5. Gather Your Tools:
Tiling is an art — and like any artist, you need the right tools. Here's a breakdown:
Tile Spacers: These small but crucial tools ensure consistent gaps between tiles, which will later be filled with grout.
Find out more about tile spacers in our Everything You Need to Know About Tile Spacers guide.
Notched Trowel: Used to spread adhesive or mortar. The notches ensure an even distribution, which is crucial for a strong bond.
Tile Cutter: For those inevitable cuts. Whether a simple straight cut or something more intricate, a good tile cutter makes the job smoother.
Rubber Mallet: Helps in setting the tile firmly into the adhesive without breaking it.
Preparation is more than half the battle when it comes to tiling. A well-prepared surface ensures that the tiles lay flat, adhere well and last for years to come. So, before you get lost in the world of beautiful tiles, ensure your space is primed and ready to become the canvas for your tiling masterpiece!
The Lifespan of Tiles: Recognising the Signs for a Change
Tiles are durable, no doubt. But like everything, they have a lifespan. So, when is it time for a tactical upgrade or refresh?
1. Visible Damage:
Tiles are renowned for their durability, but they aren't invincible. Over time, factors like heavy foot traffic, accidental drops or structural shifts can damage your tiles.
Cracks: These can be due to heavy objects falling on them or structural movements in the building. Cracked tiles can accumulate dirt and can also be a potential hazard, especially on floors.
Chips: Often a result of impact, chipped tiles lose their aesthetic appeal and can also lead to more extensive damage if not addressed.
Loose Tiles: These can be caused by issues with the adhesive, water damage underneath or even improper installation. Walking on loose tiles can further the damage and might even lead to accidents.
2. Mould and Mildew:
Tiles in wet areas, like bathrooms or around kitchen sinks, are susceptible to mould and mildew growth, especially in the grout lines.
Why it's a Concern: Apart from being unsightly, mould can pose health risks, especially for those with respiratory issues or allergies.
Addressing the Issue: If regular cleaning doesn't eliminate the problem, it indicates a deeper issue, like water seeping behind the tiles. This is a sure-fire sign it’s time for a change.
3. Outdated Design:
Tiles, like all design elements, are subject to trends. What was cool a few decades ago might now make your space look dated.
Evolving Trends: From colours and patterns to sizes and finishes, tile trends evolve. If your tiles scream a bygone era, it might be time to refresh your space.
Personal Aesthetics: Sometimes, it's not about the broader trend but personal preference. As our tastes and lifestyles evolve, updating tiles can rejuvenate a space to reflect a more current version of ourselves.
4. Resale Value:
When selling a property, first impressions matter. Old, damaged or outdated tiles can be a turn-off for potential buyers.
Boosting Appeal: Modern, well-maintained tiles can significantly enhance the aesthetic appeal of a space, making it more attractive to buyers.
Investment Returns: While there's an initial outlay involved in updating tiles, the potential increase in property value often outweighs the costs.
Maintenance is Key:
While tiles have a robust nature, their longevity is significantly influenced by maintenance. Regular cleaning using appropriate products ensures they retain their original quality. Avoiding harsh chemicals prevents surface damage, and periodically resealing grout lines can prevent water infiltration and mould growth. With proper care, tiles can remain a beautiful and functional part of your home for decades.
See our How to Clean Bathroom Tiles article for bathroom tile cleaning tips and ideas.
Find the best tile solutions for you
Tiles have the power to transform spaces, and the journey from selection to installation can be a very fluid process — you just have to go with it. Whether you're a DIY maverick or prefer to leave it to the pros, the key is to be informed and prepared. And when it's time to choose those perfect tiles, we’ve got you covered with a range that caters to every taste and style.
Ready to embark on your tiling adventure? Take it one tile at a time and don’t forget to have fun with it — trust the process!

Layla is a creative at heart, with an Advanced Diploma in Interior Design and being the Senior Marketing and Ecommerce Coordinator here at TileCloud she has a passion for staying up to date with the latest trends within the industry. Known for going down a rabbit hole on Pinterest and being a sucker for a good mood board to kick off any project.