Niche VS Shower Ledge
A bathroom renovation can be overwhelming at the best of times. It’s important not to only consider design but functionality and storage! Let’s throw away those old rusty shower caddies and incorporate tiled storage with a niche or ledge into your new bathroom design.
To make it a bit easier we have filtered through the different designs for niches and ledges and the pros and cons so you can decide what works best for you and your space.
Wait… what is a niche?
A niche is a common term used to describe a recessed storage space in the wall servicing your shower or bath used to store shampoo bottles, soap etc. A niche requires a little bit more time to plan to make sure you have adequate space for all your essentials. You can have multiple niches in a space which can be handy for larger households!
Tip: In terms of the design of niches, what we tend not to recommend is tiling a contrasting feature tile at the back of the niche. This trend is coming to an end and so it could date your bathroom more quickly than you’d like. It’s also something that dominates your space which is not ideal to highlight the spot where you keep all your bathroom products! So if you are planning a niche just tile it in the same tile as the surrounding tile.
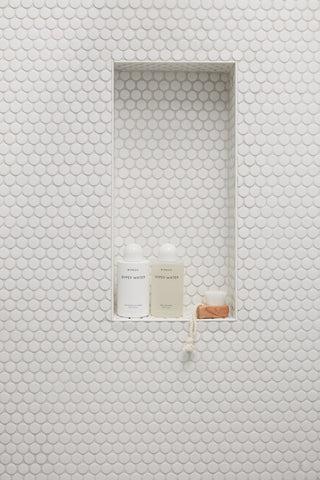
Three Birds Renovations - House 14
Pros: Complete design freedom! Doesn’t take up extra floor space so perfect for small bathrooms.
Cons: Limited on the depth to what your wall cavity is.
Introducing the shower ledge!
Fairly new to make its appearance the shower ledge! Put simply, a tiled shower ledge is a half-height wall built into your shower or behind your bath, a modern and practical way to put your most-used bathroom products. Unlike the niche, it doesn’t have a top section/canopy.
A tiled shower ledge creates a horizontal break in the wall making it the perfect way to incorporate a feature. Consider bringing your floor tile up onto the face and top of the ledge and switching to something different above the ledge, the options are endless.
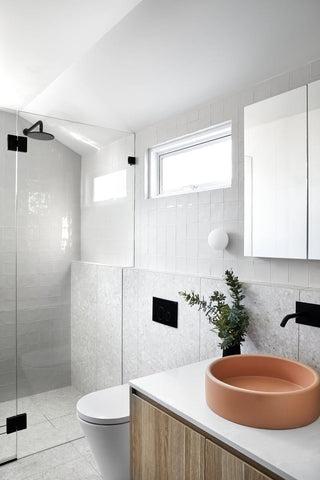
Kristy and Kieren - Real Life Reno
Pros: As opposed to the shower niche, ledges do not have a top side meaning you are not restricted by the height of your bath bottles.
Cons: Loosing floor space that is taken up by the how deep you take your ledge.
Finishes
Deciding what to do on the external corner of your niche or ledge is important to consider as it can effect the final look of your space.
Tile trim is a cost-effective option to clean up your niche or ledge. You can also make a feature of your tile trim or have it seamlessly blend in with the tile. We go more into tile trim on our blog HERE.
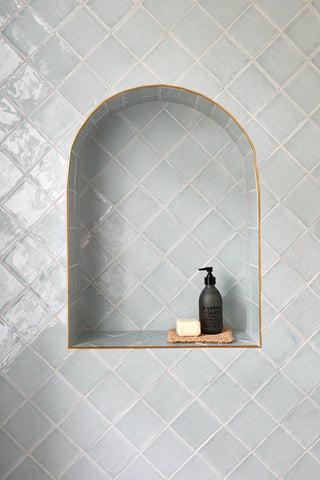
Three Birds Renovations - House 13
Having your tiles mitred is an option to eliminate the need of any tile trim. A mitred tile is a cut at a 45 degree angle along the edge, essentially removing the underside of the tile. Two mitred tiles are then butted against each other to form a neat finish at the corner, so that only the face of each tile is visible. A quality tiler can create a beautiful, mitred edge, without chipping or damaging the edge of the tile. Keep in mind that it can be costly and tedious process but the outcome is a clean crisp finish.
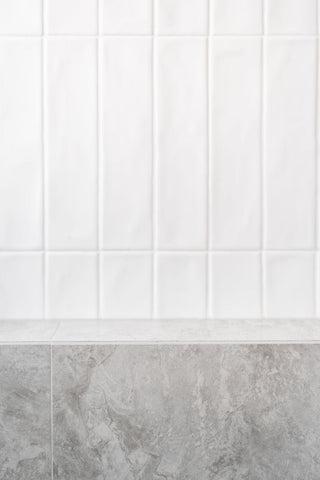
Future Flip - Kanning Ave Project
Placement
So you have decided on the type of tiled storage you will include in your space.
The placement of your niche or ledge is important as it must be functional but also look beautiful.
You want your niche or ledge to sit anywhere from elbow to shoulder height, we find anywhere between 900mm – 1300mm is comfortable for most!
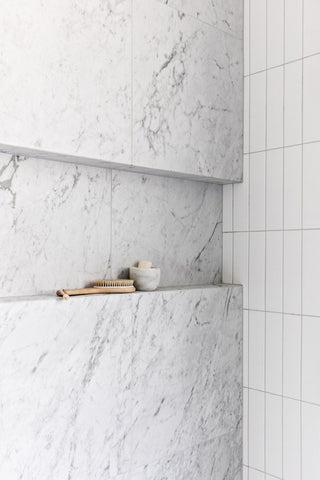
Redfern House - Ensuite Bathroom
Whichever way you decide to go, the most important step is to discuss your options with your tiler. Be clear on your preference for mitres if this is your wish, or ask to see any trims that the tiler is suggesting prior to installation.
Show us the niches and ledges you have created in your bathroom!
Tag us on Instagram @tilecloud

As an interior designer at TileCloud, Courtney brings a wealth of knowledge and expertise to the world of home renovation. With a Diploma in Interior Design and Decoration and a passion for creating stunning interiors, shes dedicated to helping people on their journey to transform their homes. Currently channeling her expertise into renovating her own home, she aims to share valuable insights, tips, and inspiration to assist others in achieving their dream space!
